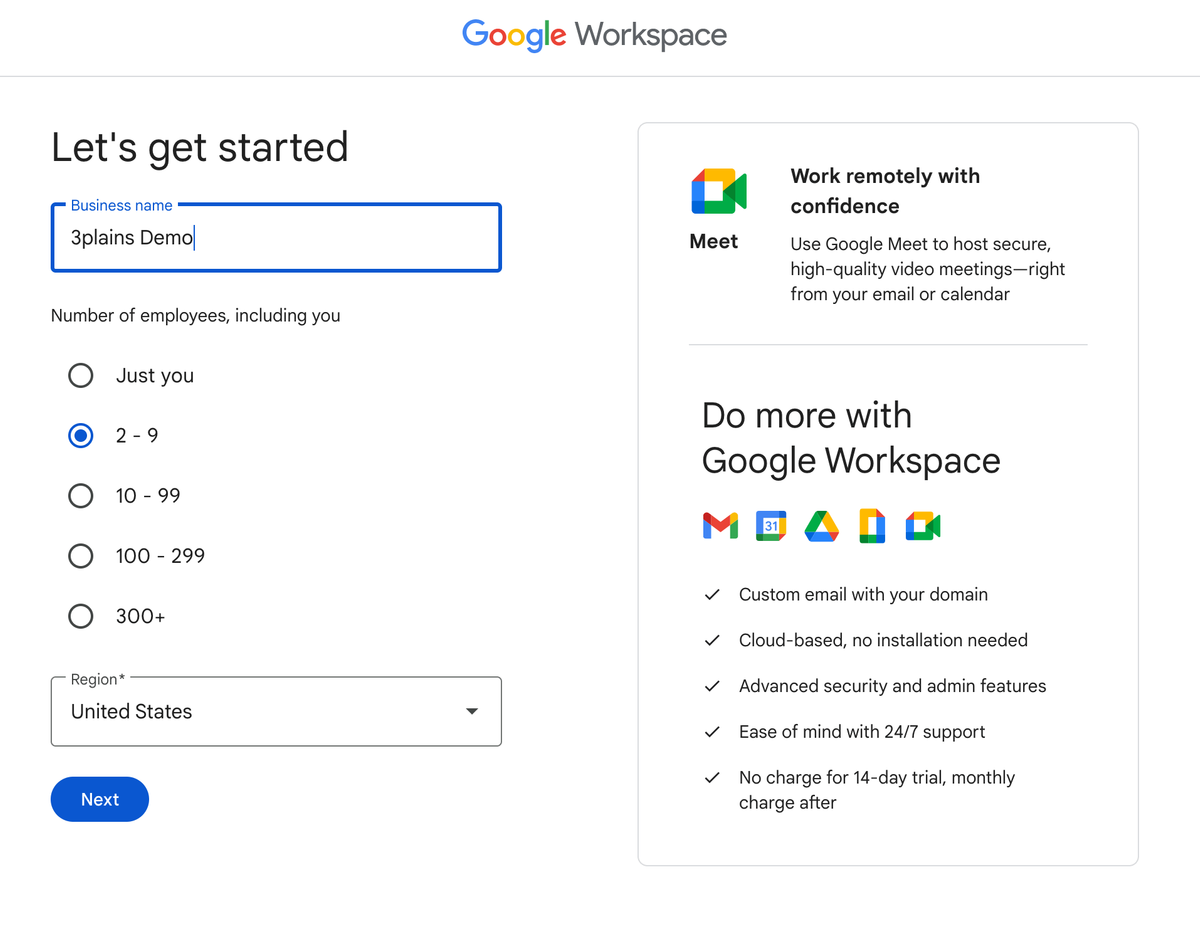
Learn How to Setup Google Workspace Correctly. Setting up Google Workspace for your domain is more than just adding users—it’s about protecting your brand, ensuring email deliverability, and defending against spoofing. Correctly configuring SPF, DKIM, and DMARC is crucial. This guide breaks down why they matter, how to implement each, and how to monitor post‑setup.
- What Are SPF, DKIM & DMARC?
- SPF (Sender Policy Framework) is like a guest list—only authorized servers (e.g., Google’s servers) can send email from your domain
- DKIM (DomainKeys Identified Mail) adds a cryptographic signature, ensuring the content isn’t altered in transit
- DMARC builds on SPF and DKIM. It instructs receivers how to handle emails that fail authentication and provides you with visibility through reporting
Implementing all three not only protects your domain but also improves inbox placement for legitimate messages.
- Step-by-Step Setup in Google Workspace
1. SPF Configuration
- Sign in to your DNS host dashboard.
- Locate existing SPF records (TXT type).
- If one exists, modify it to include Google:
- v=spf1 include:_spf.google.com ~all
If none exists, create it with the same content. Buy Google Workspace Starter Plan
2. DKIM Configuration
- Open Google Admin Console → Apps → Google Workspace → Gmail → Authenticate email.
- Click Generate new record and choose 2048‑bit key if possible
- Add the TXT record (selector like google._domainkey.yourdomain.com) in your DNS.
- Return to Admin Console and click Start authentication.
- Send a test email, then verify the header for “DKIM=pass”
3. DMARC Configuration
- Wait at least 48 hours after SPF and DKIM setup.
- Generate a DMARC TXT record, for example:
- Host: _dmarc.yourdomain.com
- TXT: v=DMARC1; p=none; rua=mailto:reports@yourdomain.com; pct=100; adkim=s; aspf=s
This enables monitoring without impact
- After monitoring (2–4 weeks), consider changing policy to quarantine or reject
- Post‑Setup – Testing & Troubleshooting
- Use MXToolbox, Mail‑tester.com, or Google Postmaster Tools to validate records and deliverability
- Inspect email headers—SPF, DKIM, and DMARC should all show “pass.”
- Watch DMARC reports to identify misconfigured or unauthorized senders.
- Common issues:
- Too many SPF lookups (limit = 10)
- DKIM incorrectly named or unsigned
- DMARC record misplacement or missing rua tag
- Why Correct Setup Matters
- Better Deliverability: Authenticated emails are trusted and often land in inboxes.
- Brand Protection: Prevents spoofing and phishing using your domain.
- Insight & Control: DMARC reports reveal misuse or configuration issues
✅Recap Table: Setup Checklist
| Step | Action | Reference & Timing |
| SPF | Add/modify TXT record: v=spf1 include:_spf.google.com ~all | Immediate |
| DKIM | Generate in Admin Console, publish DNS record, enable signing | After SPF propagation |
| DMARC | Publish _dmarc TXT with p=none; rua=…policy | Wait 48 h+, monitor 2–4 weeks |
Then, strengthen DMARC policy to quarantine or reject.
Final Thoughts
Correctly setting SPF, DKIM, and DMARC in Google Workspace isn’t optional—it’s essential for email security and delivery. You’ll reduce spam, improve brand credibility, and gain actionable insights. Pair this post with your detailed Amyntas guide to provide users with a full tech walkthrough.
Tags
